Overview
This guide shows you how to install Rails and to create Rails Web Applications.
Note: Rails requires Ruby and NodeJS to be already installed on your server for it to install.
Rails Installation
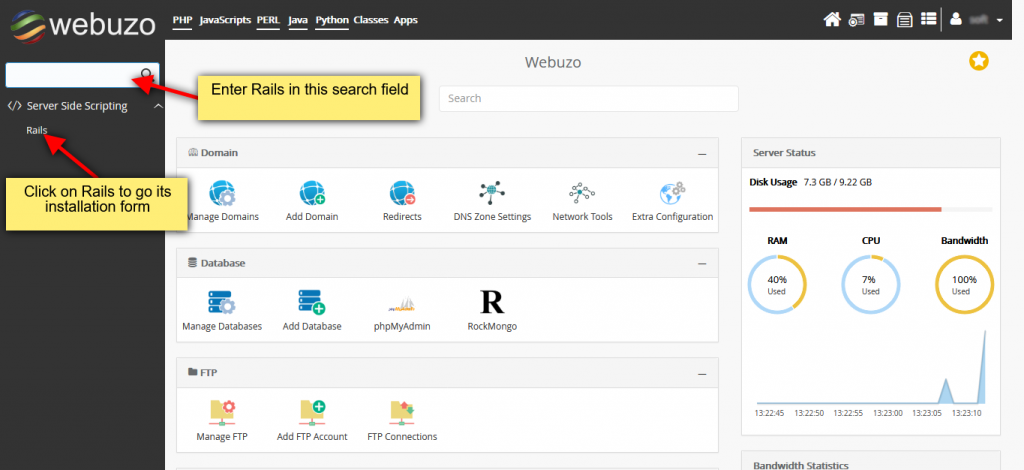
You can install Rails from your Webuzo Enduser Panel by searching Rails in the search toolbar given on the leftside panel.
Screenshot : Search Rails
Procedure
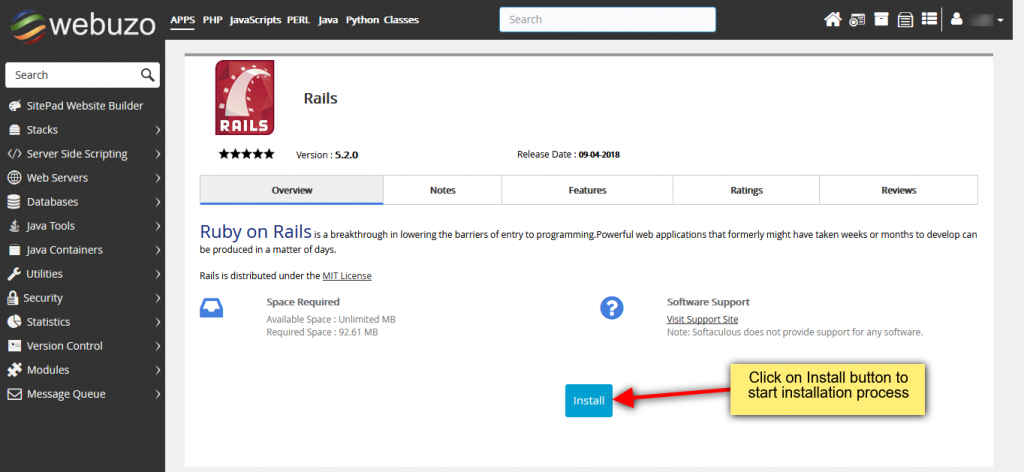
Once you click on the Rails you will be redirected to its installation page. Click on the given Install button in order to start the installation process.
Screenshot : Install Rails
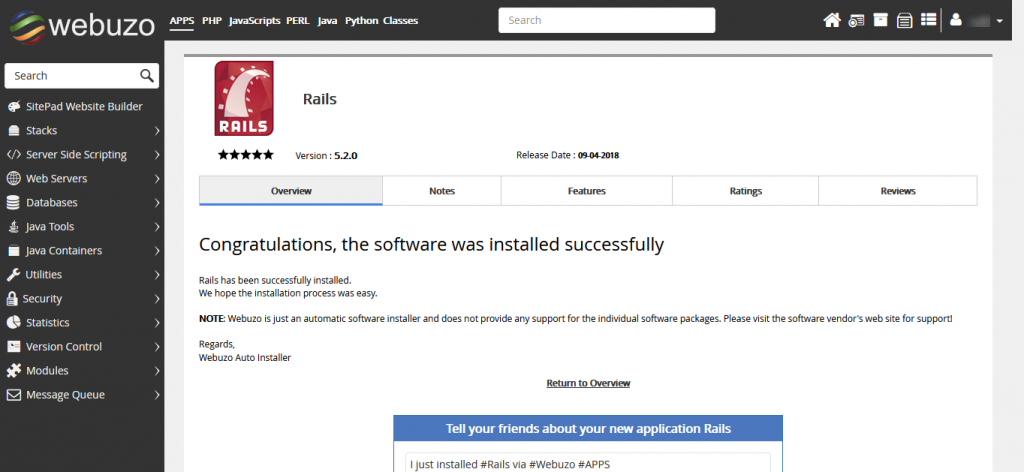
Once completed, you will receive the success message.
Check if Rails installed
The following is procedure for checking if Rails has been properly installed by creating a test Rails page. You need to have root SSH access to your server.
Procedure
For creating a test Rails application execute the given below commands on the command-line:
# /usr/local/apps/ruby/bin/rails new railsapp
Note: You might get the following error: bundler: command not found: spring Install missing gem executables with `bundle install`
You can either ignore this message or execute the given gem installation command as follows:
# cd railsapp
[railsapp]# /usr/local/apps/ruby/bin/bundle install
After executing the above command the gem file which didn't get installed will be installed.
If you have already changed the current working directory as 'railsapp' for installing the gem files then you need not execute the first command i.e # cd railsapp
# cd railsapp
[railsapp]# /usr/local/apps/ruby/bin/rails server -b [your_server_ip_or_domain]
=> Booting Puma
=> Rails 5.2.0 application starting in development
=> Run `rails server -h` for more startup options
Puma starting in single mode...
* Version 3.12.0 (ruby 2.5.1-p57), codename: Llamas in Pajamas
* Min threads: 5, max threads: 5
* Environment: development
* Listening on tcp://[your_server_ip_or_domain]:3000
Use Ctrl-C to stop
Once you have started the rails server with the above command, you can now access the test application from web browser as follows:
http://[your_server_ip_or_domain]:3000
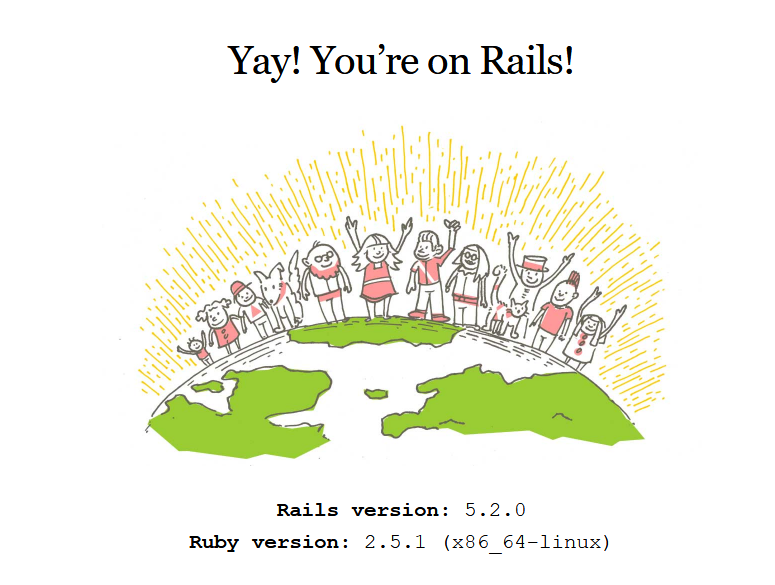
The above page assures that Rails has been properly installed on your server.
Note: The Rails Application name 'railsapp' is used here just for example purpose. You can provide any name you want for your rails test application.
Create a Rails Web Application
You can create a test Rails Web Application. The procedure is as given below:
Procedure
We are using already created Rails Web Application 'railsapp'. You will have to first create a controller for test application as bellow:
[railsapp]# /usr/local/apps/ruby/bin/rails generate controller helloworld
create  app/controllers/helloworld_controller.rb
invoke  erb
create  app/views/helloworld
invoke  test_unit
create  test/controllers/helloworld_controller_test.rb
invoke  helper
create  app/helpers/helloworld_helper.rb
invoke  test_unit
invoke  assets
invoke  coffee
create  app/assets/javascripts/helloworld.coffee
invoke  scss
create  app/assets/stylesheets/helloworld.scss
- After creating controller, we need to add index page for the test application. You will have to add index.html.erb file to app/views/hello/ location and add the following code in the file:
<h2>Hello World</h2>
<p>
  This is just a Rails test page
</p>
Once added, next thing to be done is route the Rails to this page for which you need to edit config/routes.rb file of your 'railsapp' and add the following code inside 'Rails.application.routes.draw do' statement:
root 'helloworld#index'
Once you add the code, run the Rails server to execute the test Rails application.
[railsapp]# /usr/local/apps/ruby/bin/rails server -b [your_server_ip_or_domain]
=> Booting Puma
=> Rails 5.2.0 application starting in development
=> Run `rails server -h` for more startup options
Puma starting in single mode...
* Version 3.12.0 (ruby 2.5.1-p57), codename: Llamas in Pajamas
* Min threads: 5, max threads: 5
* Environment: development
* Listening on tcp://[your_server_ip_or_domain]:3000 Use Ctrl-C to stop
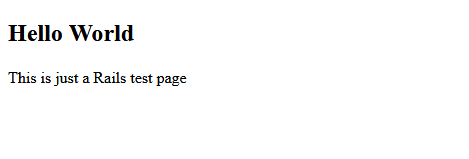
Once you have executed the rails server with the above command, you need to refresh the browser you had opened earlier and you will see "Hello World" message displayed as follows:
